I shoot corporate interviews most weeks. Sometimes it is a CEO delivering a company update. Sometimes it is a team of six employees rotating through a single chair for a recruitment film. The setup changes depending on the room, the brief, and how much time I have, but the underlying principles stay the same. Here is the setup I use, piece by piece, and why each choice matters.
This is written for anyone commissioning interview content and wanting to understand what separates professional results from average ones. It is also written for videographers building their own interview kit and trying to figure out where to spend money first.
Camera choice: why the sensor matters
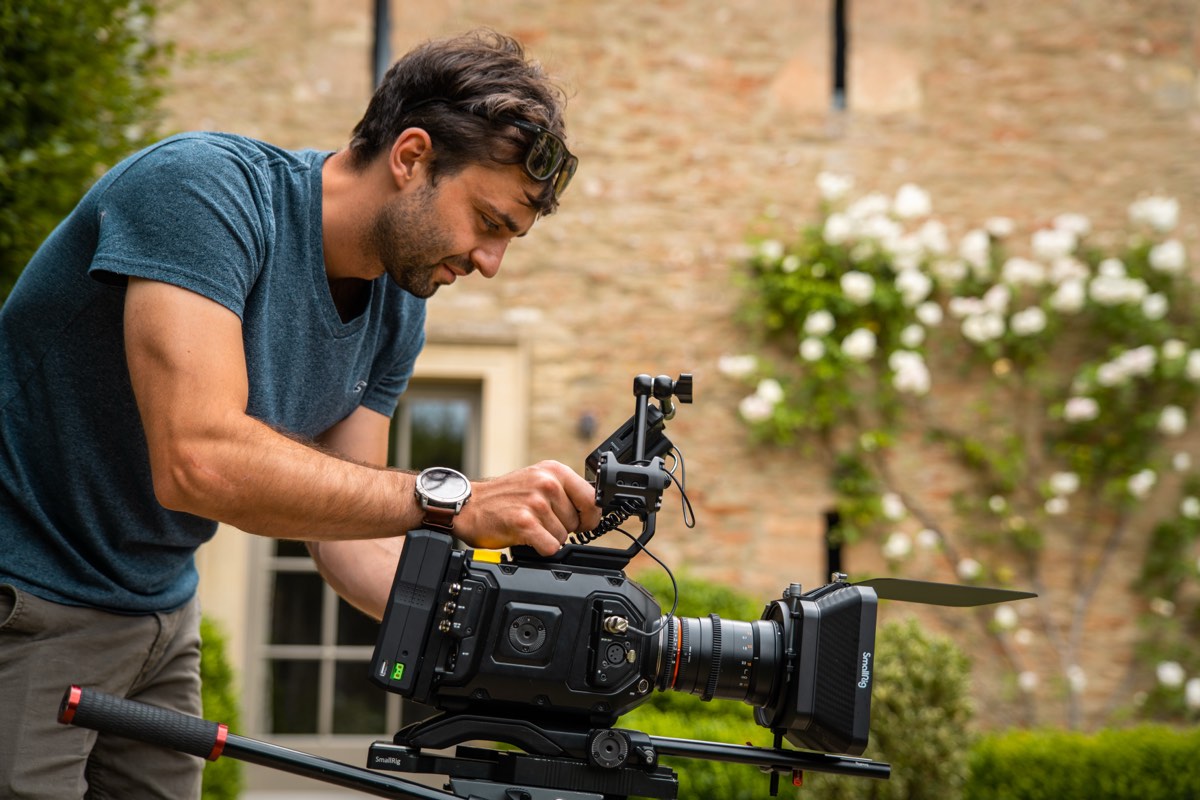
I shoot interviews on a Blackmagic URSA 12K. That is not the obvious choice for talking heads. Most corporate videographers use mirrorless cameras, and for good reason. They are light, affordable, and produce excellent results. But there are specific reasons I chose a cinema camera for this work.
The URSA has a Super 35 sensor, which is physically larger than the sensors in most mirrorless cameras. A larger sensor gives you shallower depth of field at the same aperture and focal length. That matters for interviews because you want your subject sharp and your background soft. Not obliterated into a blur, but gently separated from the person speaking. That separation is what makes the image feel cinematic rather than like a Zoom call.
The URSA also records in Blackmagic RAW, which gives me enormous flexibility in colour grading. Corporate environments are visually unpredictable. One office has warm wood panelling. The next has cold blue LED ceiling lights. RAW lets me match the colour response to each environment without degrading the image. If you are shooting in compressed formats, you are baking in decisions on set that you cannot reverse later.
The third reason is dynamic range. The URSA captures roughly 14 stops of dynamic range. That means I can retain detail in the bright window behind the subject while also holding shadow detail in darker areas of the room. Lesser cameras force you to choose between blowing the window or crushing the shadows. With 14 stops, you can usually hold both.
You do not need a cinema camera to shoot good interviews. A Sony A7 IV, Canon R6, or Panasonic S5 will all produce excellent interview footage. The principles of lighting and lens choice matter far more than the camera body. I chose the URSA because I also shoot commercials and documentary work, and it covers all of those needs in a single system.
Lens selection: focal length and why it matters
For talking head interviews, I typically use a 50mm or 85mm lens. Each has a distinct character.
A 50mm on a Super 35 sensor gives a field of view roughly equivalent to 75mm on full frame. This is a natural, flattering perspective for a person sitting two to three metres from the camera. It does not compress facial features aggressively, and it gives you enough background to establish the environment. I reach for a 50mm when the client wants context, when the room is part of the story.
An 85mm compresses the image more. The background falls further out of focus. Facial features flatten slightly, which most people find flattering. I use 85mm when the background is distracting or ugly, or when the brief calls for a tighter, more intimate feel.
What I avoid is anything wider than 35mm for interviews. Wide lenses distort facial proportions, making noses larger and ears smaller. It is unflattering and looks unprofessional. If you are shooting an interview on a 24mm because you are in a small room, you are better off finding a different room.
Aperture sits between f/2.8 and f/4 for most interview work. Wider than f/2.8 and focus becomes unforgiving. If the subject leans forward six inches, their eyes go soft. Narrower than f/5.6 and you lose the background separation that makes the image look professional. f/2.8 to f/4 is the practical range where you get a pleasing look without fighting focus all day.
Lighting: the setup that works every time
Lighting is where corporate interviews succeed or fail. You can get away with a mediocre camera if your lighting is excellent. You cannot get away with excellent camera work and poor lighting.
I use a three-point lighting setup as a starting point, then adapt based on the room. Here is what each light does and where it goes.
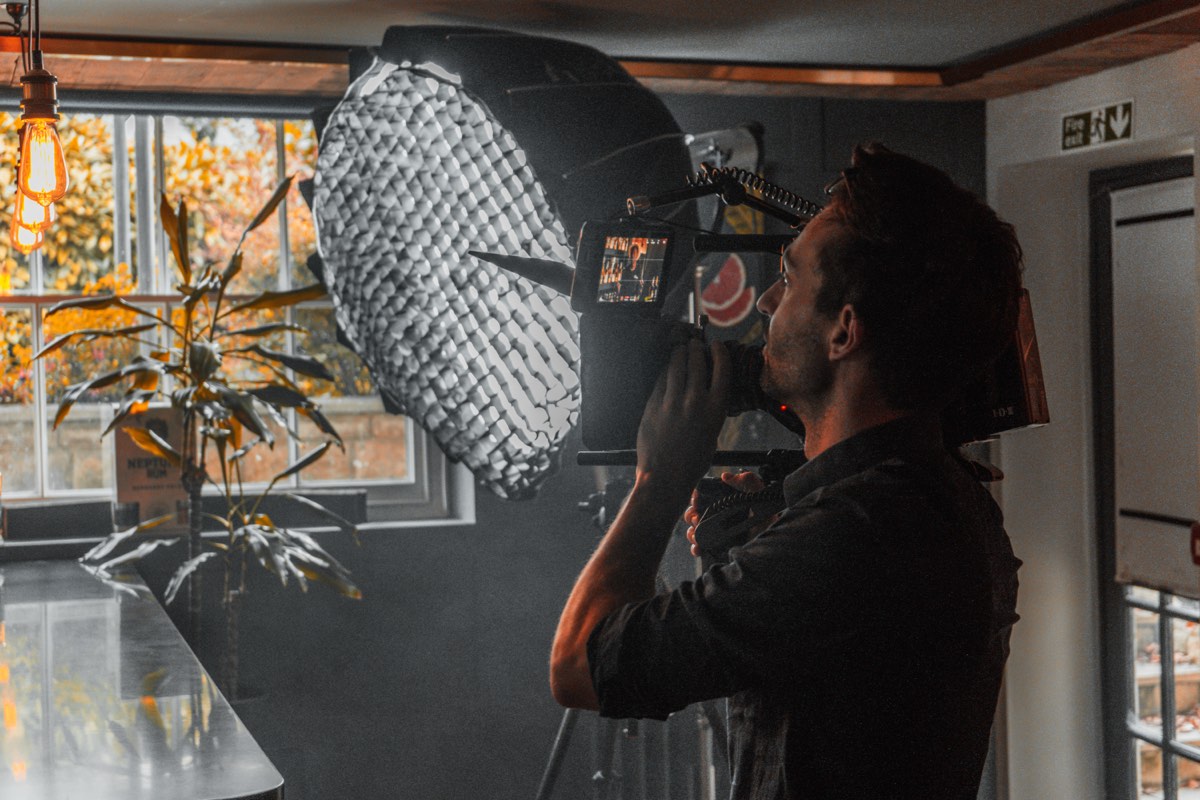
Key light. This is the primary source illuminating your subject's face. I position it at roughly 45 degrees to the subject, slightly above eye level. The specific unit depends on the shoot, but my default for interviews is an Aputure 300d Mark II or 600d through a large softbox, usually a Lantern or a rectangular soft box with an egg crate grid. The grid prevents light from spilling across the room and washing out the background. The softbox creates a large, soft source that wraps around the face naturally.
A large source close to the subject produces soft light. A small source far from the subject produces hard light. For interviews, you almost always want soft. Move the light as close to the subject as you can without it appearing in the frame.
Fill light. The fill sits opposite the key, usually lower in intensity. Its job is to control the contrast ratio on the face. Without fill, the shadow side of the face goes very dark. That can look dramatic and cinematic, but for corporate work, most clients prefer a softer look. I typically run the fill at about half the intensity of the key, sometimes less. A bounce board or a second LED panel through diffusion works. I often use a white polyboard as a bounce rather than a second powered light. It is simpler and it cannot produce unflattering double shadows.
Backlight. The backlight (sometimes called a hair light or rim light) sits behind the subject, usually high and to one side, aimed at their head and shoulders. Its purpose is separation. Without it, the subject blends into the background, especially if they are wearing dark clothing against a dark wall. A hard backlight creates a visible rim of light around the shoulders and hair. I use a small LED, sometimes with a grid or barn doors to control the spill.
Colour temperature: getting it right
Colour temperature is measured in Kelvin. Daylight is approximately 5600K. Tungsten is approximately 3200K. Most office environments fall somewhere in between, and many are a mess of mixed sources.
I use bi-colour LED panels, which means I can dial the colour temperature from 2700K to 6500K. Before I set up any lights, I look at the existing light in the room. If there is a large window contributing daylight, I set my LEDs to 5600K to match. If the room has warm interior lighting and the windows are covered or small, I might drop to 4000K or lower for a warmer feel.
The critical thing is consistency. Mixed colour temperatures create images where part of the scene is warm and part is cool, and no amount of grading fixes it cleanly. If the room has fluorescent ceiling lights, I turn them off. If there are practical lamps contributing warm light, I either match them or switch them off. The goal is for every light source hitting the subject to be at the same colour temperature.
If you are just starting out and cannot afford bi-colour panels, buy daylight-balanced LEDs (5600K) and use them with the overhead lights turned off. Daylight LEDs with window light as your key will produce clean, consistent results.
Audio: the part most people underestimate
Bad audio ruins good video faster than anything else. A viewer will tolerate slightly soft focus or imperfect lighting. They will not tolerate echoey, thin, or distorted audio. For interviews, audio quality is at least as important as image quality.
I run two audio sources on every interview. The primary is a wireless lavalier microphone clipped to the subject's clothing, approximately 15 to 20 centimetres below their chin. I use Sennheiser radio mics, though DJI and Rode both make solid wireless systems at lower price points. The lavalier captures a clean, close signal that rejects room noise.
The backup is a shotgun microphone on a boom or stand, positioned just out of frame above the subject. The shotgun captures a more natural, open sound with slightly more room ambiance. If the lavalier fails (a cable gets tugged, a battery dies, the clip shifts and creates rustle), the shotgun gives me a usable fallback.
Running dual audio is non-negotiable on any professional interview shoot. You cannot re-record the CEO's candid answer about company strategy. If a single mic fails and you have no backup, you have lost the take.
Background and set dressing
The background contributes more to the final image than most clients realise. A clean, considered background sells professionalism. A cluttered, random background undermines it.
My preference is to place the subject at least two metres in front of the background, ideally more. Distance creates depth and allows the background to fall out of focus. Against a wall looks flat. Away from the wall looks three-dimensional.
Look for backgrounds with depth and visual interest. Bookshelves, office plants, a corridor stretching into the distance, a window showing an exterior view. Avoid blank white walls (they look cheap on camera), busy patterns, and anything with the company logo unless the brief specifically calls for branding.
I often add practical lights to the background. A desk lamp, an LED tube on a shelf, a strip of warm light behind a plant. These small additions create depth and visual interest. They give the eye something to wander through while the subject speaks.
Monitor setup for client approval
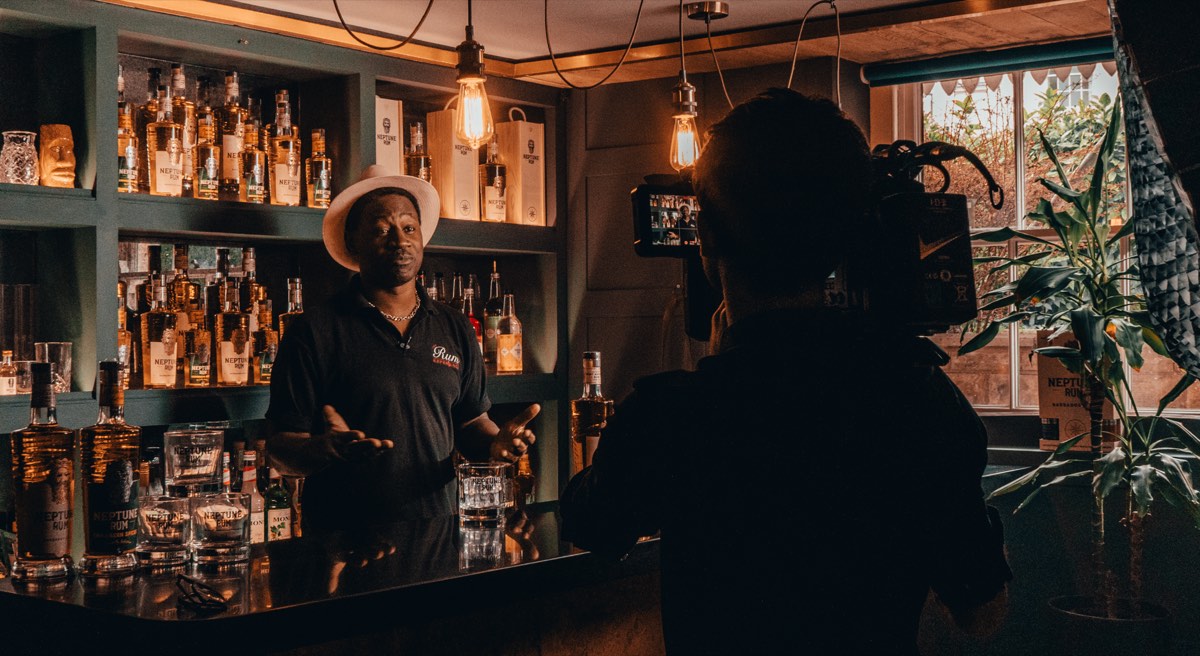
On every interview shoot, I run a client monitor. This is a separate screen, usually a 7-inch field monitor on a stand or a tablet receiving a wireless feed, positioned where the client or marketing team can see the image. It lets them check framing, approve the look, and spot issues (a crooked tie, a distracting object in the background) before you start rolling.
The client monitor also builds trust. When the client can see exactly what you are seeing, they relax. They stop hovering behind the camera and start focusing on the content, which is their actual job. It is a small investment that improves the working relationship and the final product.
Putting it all together
A complete interview setup takes me approximately 45 minutes to build from an empty room. That includes lighting, camera, audio, monitor, and set dressing. On a multi-interview day, I arrive an hour before the first subject to build the setup, then rotate subjects through the chair with minimal adjustment between each.
The gear matters, but it is not the most important thing. Understanding why each piece is there and what it does for the final image is what separates a professional result from a competent one. A well-lit interview on a modest camera will always outperform a poorly lit interview on an expensive one.
For larger productions involving multiple cameras, a producer on set, or complex multi-location shoots, I work through Singularity Film. For single-operator corporate interview work, get in touch directly.
Related
- Corporate videographer Bristol
- How to brief a videographer
- Videographer Bristol - services and day rate
Need interview content?
Full lighting, cinema cameras, clean audio. Everything included in the day rate.
Get in touch