Lighting is the single biggest factor in whether a corporate interview looks professional or amateur. I have seen interviews shot on expensive cameras look terrible because the lighting was an afterthought. I have also seen interviews shot on modest cameras look broadcast-quality because the lighting was done properly. If you are going to invest time learning one aspect of video production, make it this.
This guide covers the practical setup I use on most interview shoots. It is not theoretical. It is what I actually do, the specific gear I use, and the problems I solve on almost every job.
Three-point lighting explained
Three-point lighting is the foundation. It is not the only way to light an interview, but it is the most reliable starting point, and it is what I default to when I walk into a room I have never seen before.
The three points are: key light, fill light, and backlight. Each has a specific job.
Key light. This is your primary source. It provides the main illumination on the subject's face and determines the overall character of the light. Position it at approximately 45 degrees to the subject, horizontally. Vertically, it should be slightly above eye level, angled down. This creates natural-looking shadows under the cheekbones, nose, and chin, which gives the face dimension and shape.
If you place the key light directly in front of the subject at the same height as their face, you get flat, shadowless light. It is not necessarily ugly, but it removes all the shape and depth from the face. The subject looks two-dimensional. Moving the key to one side introduces shadows that define the facial structure.
Fill light. The fill sits on the opposite side of the camera from the key. Its purpose is to control the shadow density on the unlit side of the face. Without fill, the shadow side can go very dark, creating a high-contrast, dramatic look. For most corporate work, you want a softer contrast ratio, so the fill lifts those shadows to a level that feels natural without eliminating them entirely.
The fill should always be less intense than the key. A common ratio is 2:1 or 3:1, meaning the key is two or three times brighter than the fill. If the fill matches the key in intensity, you are back to flat, dimensionless lighting. If the fill is too weak, the shadow side of the face goes muddy and dark.
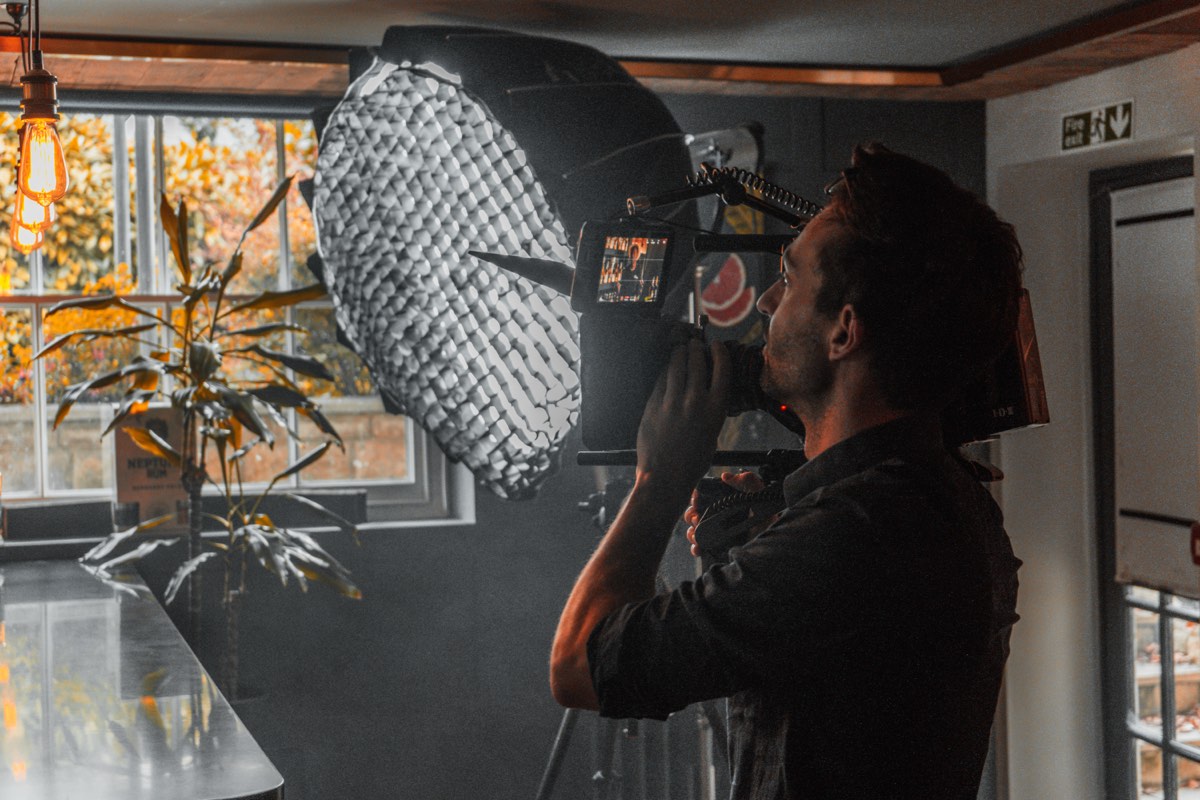
Backlight. The backlight sits behind the subject, usually elevated and aimed at the back of their head and shoulders. It creates a rim of light that separates the subject from the background. Without it, a person wearing dark clothing against a dark background will blend into the wall. The backlight creates a clean edge that lifts the subject out of the scene.
Colour temperature: 3200K, 5600K, or bi-colour
Every light source has a colour temperature, measured in Kelvin. Understanding this is not optional. Get it wrong and your footage will have a colour cast that is difficult or impossible to fix properly in post.
3200K (tungsten) produces warm, orange-toned light. It matches traditional incandescent bulbs and halogen fixtures. Some corporate environments still have warm interior lighting, and matching your LEDs to 3200K in these spaces creates a cohesive, warm image.
5600K (daylight) produces neutral to cool light. It matches midday sunlight and is the standard for most video production work. If you are shooting near windows or in rooms with significant daylight contribution, setting your lights to 5600K keeps everything consistent.
Bi-colour LEDs can be adjusted anywhere in the range, typically from 2700K to 6500K. I use bi-colour panels exclusively because they give me the flexibility to match any environment. Walking into a room with warm practical lights? Dial down to 3200K. Shooting in a glass-walled office flooded with daylight? Push up to 5600K. The ability to adapt on site saves time and avoids colour contamination.
The critical rule: every light hitting the subject should be the same colour temperature. If your key is at 5600K and your fill is at 3200K, one side of the face will be cool and the other warm. It looks terrible and it is immediately obvious even to non-technical viewers.
Before you turn on a single light, look at the room. What colour temperature is the ambient light? Are there windows? Fluorescent overheads? Warm desk lamps? Turn off any overhead lights you cannot control, and set your LEDs to match whatever dominant source remains. Start from the room, not from a predetermined number.
Common mistakes
I see the same lighting mistakes repeatedly, both in other people's work and in footage from videographers who are still developing their skills. Here are the ones that matter most.
Flat front light. Putting a single light directly behind the camera, aimed straight at the subject's face. This eliminates all shadows and makes the face look flat, wide, and shapeless. It is the default approach for people who have not learned lighting, and it is the easiest mistake to fix. Move the light to one side. Immediately, the image has depth.
Harsh shadows. Using a small, hard light source close to the subject creates sharp, unflattering shadows. The solution is either to move the light further away, use a larger source (softbox, lantern, or diffusion panel), or both. A bare LED panel at two metres creates much harder light than the same panel with a softbox attached. The modifier is not optional for interview work.
Mixed colour temperatures. Leaving the office fluorescent lights on while adding your own LEDs at a different colour temperature. The overhead lights cast a green-tinged wash across the top of the subject's head while your LEDs light the face at a clean 5600K. The result is a split-tone image that cannot be corrected cleanly. Turn off the overheads. Control the light yourself.
Ignoring the background. Lighting the subject beautifully and leaving the background in darkness or lit only by ambient room light. The background is part of the image. It does not need to be bright, but it needs to have intentional light on it. A practical lamp, a spill of light from the backlight, or a dedicated background light all work. Complete darkness behind the subject looks like a hostage video.
Over-lighting. Using too many lights at too high an intensity. The result is an image that feels clinical and artificial. Corporate environments have a natural light level. Your job is to enhance and control it, not to overpower it. I often run my key light at 30 to 50 percent power. You do not need to blast the room with light to make it look good.
Using window light as your key
If you have a large window in the room, you already have a soft, directional light source. On overcast days, window light is beautifully soft and even. It can serve as your key light with minimal supplementation.
Position the subject so the window is at roughly 45 degrees to their face. Add fill on the opposite side (a bounce board or a low-power LED). Add a backlight behind them. You now have three-point lighting with the window doing the heavy lifting.
The limitation of window light is consistency. Clouds move. The sun moves. What was a beautiful soft key at 10am becomes a harsh direct source at noon or disappears behind clouds at 2pm. If you are shooting one interview, window light is workable. If you are shooting six interviews over a full day and need consistency across all of them, controlled artificial light is more reliable.
Lighting for glasses-wearers
Glasses create reflections. If your key light is positioned normally, you will see a bright rectangle of the light source reflected in the lenses. This is distracting and looks unprofessional.
There are several ways to deal with it:
- Raise the key light higher. Moving the light upward changes the angle of reflection so it bounces away from the camera rather than directly into the lens. This is the simplest fix and works in most cases.
- Angle the glasses slightly downward. Ask the subject to tilt their chin up very slightly, or adjust the temples of the glasses so they sit at a slight angle. A few degrees is enough to redirect the reflection.
- Move the key light further to the side. Increasing the angle between the key and the camera axis changes where the reflection appears. Combined with raising the light, this usually eliminates the problem.
- Use a larger, more diffused source. A large softbox or lantern produces a softer, more spread-out reflection that is less noticeable than a hard point source.
What you should not do is ask the subject to remove their glasses. If they normally wear glasses, they should wear them on camera. Asking someone to remove their glasses changes how they look and can make them feel self-conscious. Fix the lighting instead.
Lighting darker skin tones
This is something the industry has historically done poorly, and it matters. Darker skin tones require adjustments to your lighting and exposure to render properly. If you light and expose for the brightest thing in the frame (which is what auto-exposure does), darker skin will be underexposed and lose detail.
Expose for the skin, not the highlights. Use a spot meter or your camera's zebras to check exposure on the subject's face specifically. The background may clip or overexpose slightly. That is fine. The face is what matters.
Use soft, wrapped light. Soft light from a large source wraps around the face and shows the detail and variation in skin tone. Hard light creates harsh highlights and deep shadows that lose detail. For darker skin tones, soft light is especially important because it preserves the richness and dimension of the skin.
Consider your backlight intensity. A very bright backlight on dark hair and skin can create an unnaturally harsh rim that looks overblown. Dial it back. The rim should separate the subject from the background, not burn out their silhouette.
Colour grade with care. In post-production, watch your colour correction closely. Many LUTs and automatic adjustments are calibrated for lighter skin tones and can desaturate or shift darker tones unnaturally. Grade by eye, not by numbers.
Quick setup vs perfect setup
Sometimes you have an hour to build the perfect interview lighting setup. Sometimes you have fifteen minutes because the CEO is leaving for a flight. Here is what I prioritise when time is short.
If you have 15 minutes: One key light through a softbox at 45 degrees. A bounce board for fill on the opposite side. No backlight. Get the colour temperature right. This will produce a clean, professional image. It will not be cinematic, but it will be more than adequate for most corporate content.
If you have 30 minutes: Add a backlight. Add a practical or background light. Now you have depth and separation. The image starts to look intentional rather than just acceptable.
If you have 60 minutes: Build the full three-point setup. Fine-tune the ratios. Add practical lights to the background. Check for reflections, colour casts, and spill. Shape the light with flags and negative fill if needed. This is where the image moves from good to polished.
The ability to scale your setup based on available time is a practical skill. Knowing the minimum viable lighting setup that still produces professional results is more valuable than only knowing the ideal setup that requires an hour to build.
Gear I use
For reference, here is the lighting kit I carry on a standard interview shoot:
- Aputure 600d or 300d Mark II (key light)
- Aputure 300d or LED panel (fill or background)
- Smaller LED panel or tube light (backlight)
- Softboxes: Aputure Light Dome, Lantern, and rectangular boxes with egg crate grids
- Diffusion frames and negative fill (black flags)
- White and silver bounce boards
- C-stands and light stands
- V-mount batteries for locations without mains power
This kit covers any interview scenario I am likely to encounter, from a small office to a large warehouse. It all comes with my day rate. No separate hire charges, no minimum rental periods. It turns up on the shoot because it is mine.
For larger productions or multi-camera interview setups, I work through Singularity Film, which handles crew scaling and additional equipment. For a single-operator interview with full lighting, get in touch directly.
Related
- Best camera setup for corporate interviews
- What to expect on a corporate video shoot day
- Videographer Gloucestershire
Need professionally lit interviews?
Full Aputure lighting package on every shoot. No hire charges.
Get in touch